
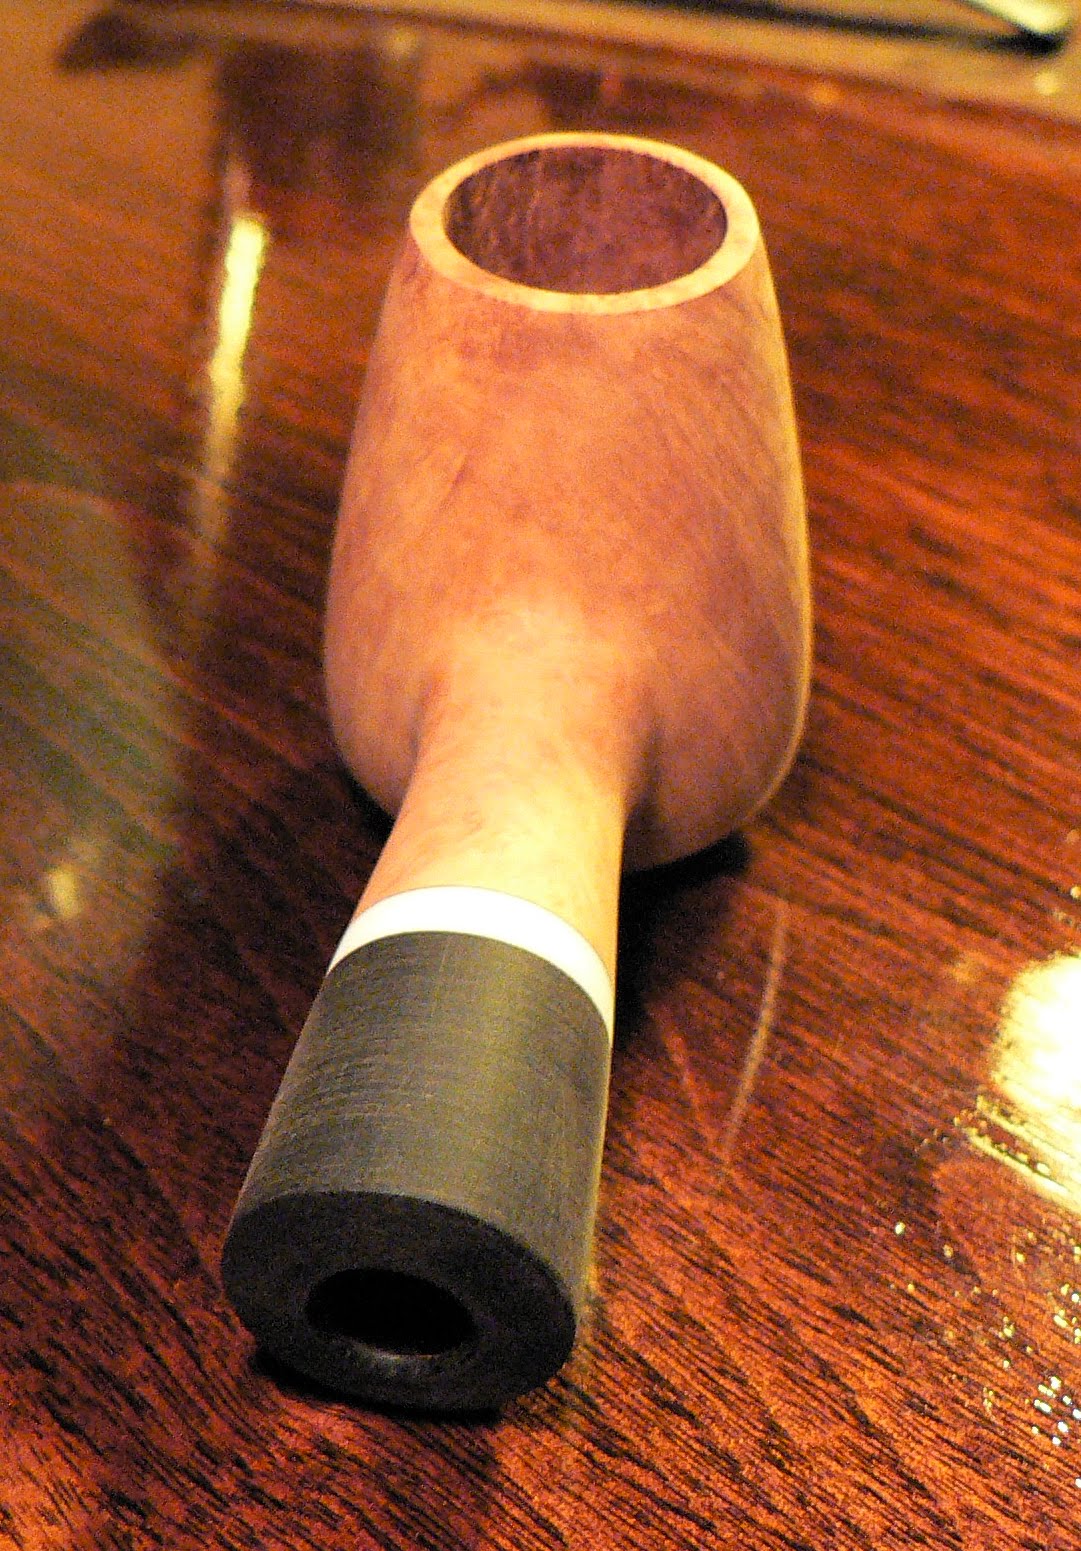
Many days have passed. I had finally found and received 1/2" square aluminum tubing for the stem ring I had set out to make. With a majority of the shaping done, I focused on the stem. Got the basic shape done and cut the 'V' slot before attempting the ring. After I was somewhat happy with that result, I made another template of the bottom of the bowl to mirror on the ring. After marking a datum line on the aluminum tube, I transfered the shape from the template and thinned the wall thickness as it was a bit bulky at .060". Finishing the work to the wall of the tube, I retrieved my Dremel and chucked up the slot cutter bit and roughed in the shape on the tubing. I finished the shaping with various needle files and finer grit sand paper. With the ring near completion, I marked out the stem in a similar fashion and roughed it in with the Dremel. This too I finished with needle files, an X-Acto knife (with a No. 11 blade of course!), and fine grit paper. Fitting and checking. More fitting and, more checking. The process was a bit trying, but well worth the result.

With shaping of both parts complete, I glued the ring to the stem with CA glue and let it cure. A little tweaking was required, but I got the ring secured and matched the shape to the stem. But something was still not right. The whole thing was still clunky and awkward. So, I grabbed a round chainsaw file and began to reshape the bottom of the stem to match the arc in a more fitting manner. This changed the symmetry of the ring somewhat, but I believe the asymmetry is worth it!
 I applied the base coat of ebony stain to the pipe and let it set to dry. I wanted to go with another finish option, but could not get the result I wanted, no matter what avenues I ventured. I will figure it out one day, but for now, I stuck with a fairly classic 'contrast stain' color combination. The stain dries quickly so I was buffing off the base coat in no time. With this method of staining, the dark base coat is almost completely removed, just leaving part of the grain a crisp dark ebony. Post buffing, I applied a special mixture I had made just for the pipe, mostly an orange hue. Two applications and it's ready for buffing. A light touch with the white compound and a healthy covering of carnauba wax and look at it shine! I did the same buffing procedure to the stem after I was happy with the overall shape, slot and button.

I quickly sent a message to the buyer so he could view his soon-to-be-owned pipe! He admired it, and thought a bit and told me something was missing. He thought a bit more and suggested he would like another inlay of some sort on the stem. I told him I would think about it and get back to him with a handful of ideas. I tossed around insert ideas in my head and came up with one in particular I really liked. Sent the buyer a message posthaste and explained my idea. He didn't quite understand what I meant so I took a picture and mocked up my idea in a photo editor. 'I like those!' he said emphatically. So I drilled the stem, cut pieces of aluminum tubing and glued them into their perspective holes.
My idea behind the pipe was to make a 'dress' pipe with classy elements that add sophistication. The ring on the front of the stem I made to mimic 'lapels' and the circle inlays on top, 'buttons'. I think in some ways it resembles a tuxedo.


Until the next pipe, happy piping! Thanks for visiting!


